instruction manual for char broil grill
Char-Broil grills deliver innovative barbecuing experiences, offering diverse models – gas, charcoal, and electric – designed for both novice and expert grillers.
This manual provides essential guidance for safe operation, assembly, and maintenance, ensuring years of enjoyable grilling with your new Char-Broil appliance.
Understanding Char-Broil as a Brand
Char-Broil has established itself as a leading innovator in the outdoor cooking market, consistently delivering high-quality barbecues, grill plates, and ovens for decades. The brand’s commitment extends beyond simply manufacturing products; it’s about enhancing the entire grilling experience for customers of all skill levels.
From seasoned BBQ enthusiasts to those just beginning their grilling journey, Char-Broil offers a diverse product range to meet every need. This includes gas, charcoal, and electric models, each thoughtfully designed with user convenience in mind. Features like built-in temperature gauges, spacious side shelves, and easily cleanable grates exemplify this dedication.
Char-Broil prioritizes both quality and innovation, backed by robust customer support and readily available replacement parts, ensuring lasting satisfaction and a seamless grilling experience.
Safety First: Important Precautions
Before operating your Char-Broil grill, carefully review these crucial safety guidelines. If you smell gas, immediately shut off the gas supply to the appliance, extinguish any open flames, and open the lid. Never attempt to light the grill with a lit match.
Ensure the grill is used outdoors only, away from flammable materials. Always supervise children and pets near the grill during operation. Do not leave a lit grill unattended. Allow the grill to cool completely before cleaning or storing.
Regularly inspect the gas hose for cracks or damage, and replace if necessary. Contact Char-Broil customer service at 1-888-430-7870 for assistance or warranty parts.
Grill Components & Identification
Char-Broil grills feature main burners, an ignition system, cooking grates, a lid with a temperature gauge, side shelves, and a grease management system.
Main Burners & Their Function
Char-Broil grills utilize high-performance main burners to generate consistent and controllable heat for optimal cooking. These burners are typically constructed from stainless steel, ensuring durability and resistance to corrosion over time.
Each burner features individual control knobs, allowing precise adjustment of flame intensity for direct and indirect grilling methods. Proper burner function is crucial for achieving desired cooking temperatures and even heat distribution across the cooking surface.
Regular inspection and cleaning of the burner tubes are essential to prevent clogs and maintain efficient gas flow. A clean burner ensures a consistent flame pattern, maximizing grilling performance and minimizing flare-ups. Maintaining these components is vital for a quality grilling experience.
Ignition System Explained
Char-Broil grills commonly employ electronic ignition systems for convenient and reliable start-up. These systems utilize a battery-powered spark generator to ignite the gas flow from the burners. A push-button igniter activates the spark, initiating the combustion process.
If the electronic ignition fails, most Char-Broil models include a backup manual lighting procedure, typically involving a long-reach lighter. Ensuring the igniter is dry and the battery is fresh are crucial for consistent performance.
Proper alignment of the igniter with the burner ports is also essential. Regular checks and maintenance of the ignition system guarantee a hassle-free grilling experience, preventing frustrating start-up issues and ensuring safe operation.
Cooking Grates: Types & Care
Char-Broil grills feature various cooking grate materials, including porcelain-coated cast iron and stainless steel. Porcelain-coated cast iron retains heat exceptionally well, providing excellent searing capabilities, but requires seasoning to prevent rusting. Stainless steel grates are durable and rust-resistant, offering easier maintenance.
Regular cleaning is vital for optimal performance. After each use, brush the grates with a grill brush to remove food residue. Periodically, a deeper clean with warm, soapy water is recommended.
Seasoning cast iron grates with cooking oil after cleaning helps maintain their non-stick properties and protects against corrosion, extending their lifespan and ensuring flavorful grilling results.
Lid & Temperature Gauge
The Char-Broil grill lid is designed for efficient heat retention, crucial for consistent cooking temperatures. Always ensure the lid is fully closed during operation to maintain optimal performance and prevent flare-ups. The lid handle may become hot during grilling; use caution or a heat-resistant glove.
The integrated temperature gauge provides a visual reading of the internal grill temperature, allowing for precise cooking control. Regularly check the gauge to monitor and adjust heat settings as needed.
Accuracy can vary; consider using a separate meat thermometer for verifying internal food temperatures, ensuring safe and delicious results.
Side Shelves & Utility Areas
Char-Broil grills often feature convenient side shelves, providing ample space for food preparation and holding grilling tools. These shelves are designed to withstand outdoor conditions but avoid placing excessively heavy items on them to maintain stability.
Some models include integrated utility hooks or tool holders for organized access to essential grilling accessories. Regularly inspect these areas for cleanliness and ensure they are free from debris.
Utilize these spaces efficiently to streamline your grilling process and enhance your outdoor cooking experience. Remember to clean the shelves after each use to prevent grease buildup.
Grease Management System
Char-Broil grills incorporate a grease management system designed to collect and contain drippings during cooking, minimizing flare-ups and simplifying cleanup. This typically involves a grease tray or pan positioned beneath the burners.
Regularly emptying and cleaning the grease tray is crucial for maintaining optimal grill performance and preventing potential fire hazards. A full grease tray can cause excessive smoke and uneven heating.
Refer to your specific model’s manual for detailed instructions on accessing and cleaning the grease management components. Proper maintenance of this system ensures a safer and more enjoyable grilling experience.
Assembly Instructions (General)
Carefully unpack all components and verify against the parts list. Assemble the frame and legs first, then install burners and attach the control panel securely.
Unpacking & Inventory
Begin by carefully opening the carton and removing all components. It’s crucial to protect the grill’s surface during unpacking; use the cardboard as a protective layer. Thoroughly check each part against the detailed parts list included in this manual. Ensure you have all necessary items before proceeding with assembly.
Missing parts? Contact Char-Broil Customer Service at 1-888-430-7870 for assistance. Retain all packaging materials until assembly is complete and you’ve confirmed everything is present. Note any shipping damage immediately and report it to the retailer. Proper inventory prevents delays and ensures a smooth assembly process, maximizing your grilling enjoyment. Familiarize yourself with each component’s name and function as listed.
Frame & Leg Assembly
Begin by laying out the grill frame components on a protected surface. Attach the legs to the frame using the provided bolts and washers, ensuring they are securely tightened. Refer to the diagram in this manual for correct leg orientation. Confirm the frame is stable and level before proceeding.
Tighten all bolts firmly, but avoid over-tightening, which could damage the frame. Double-check the leg attachments for stability; a wobbly base compromises safety. Ensure all leveling feet (if included) are adjusted to compensate for uneven ground. A solid frame is fundamental for safe and enjoyable grilling. Proper assembly at this stage prevents future issues.
Burner Installation
Carefully position the burners onto the designated mounting brackets within the grill’s firebox. Ensure each burner tube aligns correctly with the gas valve openings. Secure the burners using the provided screws, tightening them gently to avoid damage. Verify the burners sit flush and are free from obstructions.
Inspect the burner ports for any blockages; clear them if necessary. Connect the burner tubes to the gas valves, confirming a tight and secure fit. Double-check all connections for leaks using a soapy water solution – bubbles indicate a leak. Proper burner installation is crucial for even heat distribution and safe operation.
Control Panel Attachment
Align the control panel with the designated mounting points on the grill’s cabinet. Secure it using the provided screws, ensuring a snug and stable fit. Connect the control knobs to their respective valve stems, verifying smooth rotation and accurate control. Inspect the wiring connections, ensuring they are firmly attached and properly insulated.
Confirm the igniter wire is correctly connected to the ignition system. Test the control panel functionality by turning the knobs and observing the valve operation. Proper attachment ensures reliable temperature control and safe grill operation. Refer to the wiring diagram if needed for accurate connections.
Operating Your Char-Broil Grill
Follow the initial burn-in procedure to season the grill. Light the burners carefully, control temperature settings, and preheat for optimal, flavorful cooking results.
Initial Burn-In Procedure
Before your first cookout, a crucial step is performing the initial burn-in procedure. This process prepares your Char-Broil grill for optimal performance and longevity. Begin by ensuring all packaging materials have been removed, and the grill is situated in a well-ventilated outdoor area, away from flammable objects.
Open the lid and turn all burner control knobs to the “High” position. Utilize the electronic ignition or a long-handled lighter to ignite the burners. Allow the grill to run on high for approximately 15-20 minutes. This will burn off any residual manufacturing oils or coatings present on the internal components.
A slight odor during this process is normal. After the burn-in, turn off the burners and allow the grill to cool completely before commencing your first cooking session. This initial burn-in ensures a cleaner, more flavorful grilling experience.
Lighting the Grill: Step-by-Step
To ignite your Char-Broil grill, first, ensure the burner control knobs are in the “Off” position. Then, slowly open the propane tank valve. For electronic ignition, turn a burner control knob to “High” and press the igniter button repeatedly until a steady flame appears. If using a match, carefully insert a lit long-handled match near the burner, then turn the control knob to “High”.
If the burner doesn’t light within 10 seconds, turn off the gas supply and wait five minutes before attempting again. Repeat the process. Once one burner is lit, you can light additional burners by simply turning their respective control knobs to “High”. Always observe the flame pattern to ensure consistent ignition.
Temperature Control & Settings
Your Char-Broil grill’s control knobs regulate burner intensity, directly impacting cooking temperature. Lower settings provide gentle heat for delicate foods, while higher settings deliver searing temperatures for steaks and burgers. Utilize the lid’s built-in temperature gauge as a guide, though actual temperatures may vary.
Experiment with different knob positions to achieve desired results. For indirect cooking, light burners on one side of the grill, leaving the other side unlit, creating a cooler zone. Remember, preheating is crucial for accurate temperature control and even cooking. Adjust settings throughout cooking to maintain consistent heat.
Preheating for Optimal Cooking
Proper preheating is vital for achieving superior grilling results with your Char-Broil grill. Begin by ensuring all burners are lit and set to their highest setting. Allow the grill to heat for at least 10-15 minutes, or until the lid thermometer reaches your desired cooking temperature.
Preheating ensures the cooking grates are sufficiently hot, promoting effective searing and preventing food from sticking. A hot grill also helps to cook food more evenly and reduces cooking time. Always close the lid during preheating to maximize heat retention and efficiency. Consistent preheating leads to consistently delicious meals!
Cooking Techniques & Tips
Mastering direct and indirect heat unlocks grilling potential. Achieve perfect sear marks by using high heat, while indirect heat is ideal for slower cooking.
Direct vs. Indirect Heat
Understanding the difference between direct and indirect heat is crucial for versatile grilling. Direct heat involves cooking food directly over the flame, ideal for searing steaks, burgers, and thinner cuts – achieving those beautiful grill marks quickly. Ensure the burners directly beneath the food are lit for this method.
Indirect heat, conversely, utilizes heat circulating within the grill, similar to an oven. This is perfect for larger cuts like roasts, whole chickens, or anything requiring slower, more even cooking. Light burners on either side of the food, leaving the center burner(s) off.
Experimenting with both techniques expands your culinary possibilities, allowing you to perfectly cook a wide range of dishes on your Char-Broil grill. Remember to adjust lid vents for optimal temperature control during indirect cooking.
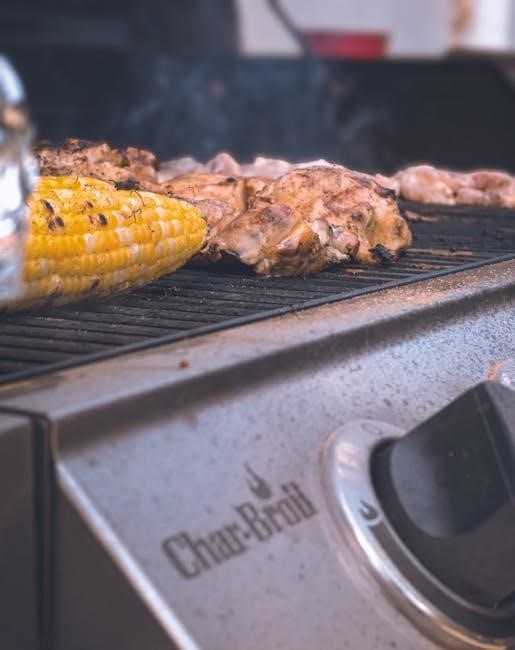
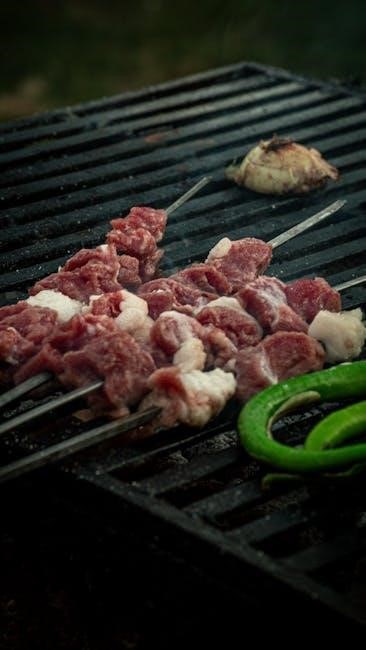
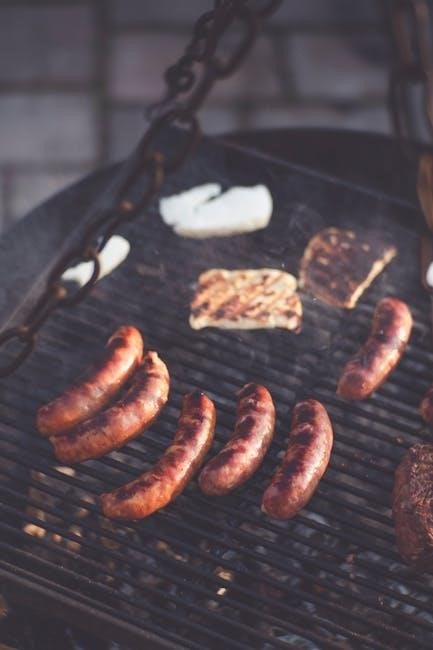
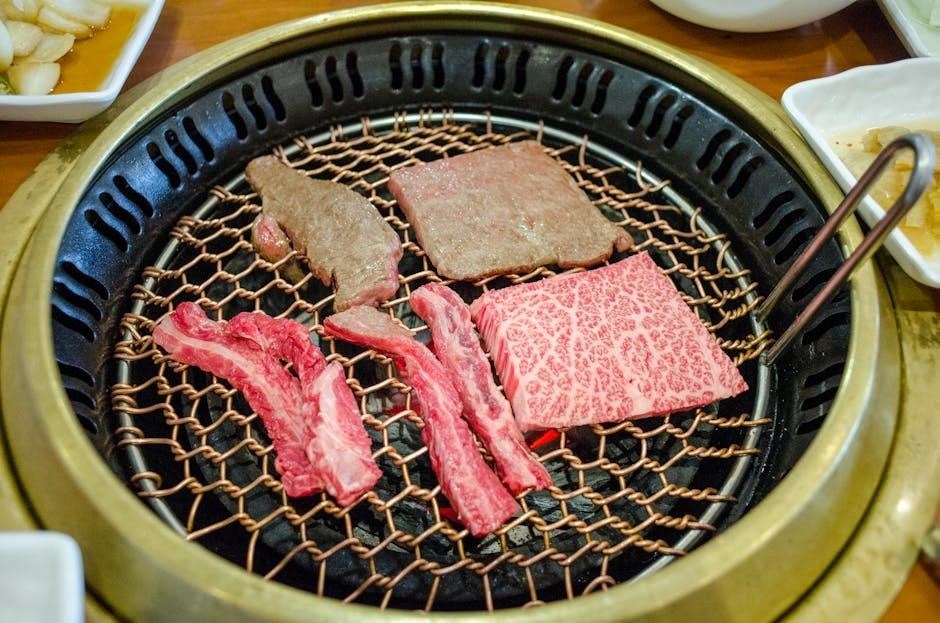
Grilling Different Types of Food
Char-Broil grills excel at cooking diverse foods, but each requires a tailored approach. For steaks, high direct heat is key – sear quickly, then move to indirect heat to finish. Poultry benefits from indirect heat, ensuring it cooks through without burning. Use a meat thermometer for accuracy.
Fish is delicate; use medium-low direct heat or a grilling plank to prevent sticking. Vegetables can be grilled directly or in foil packets. Burgers thrive on medium-high direct heat, flipping only once for optimal caramelization.
Remember to adjust cooking times based on thickness and desired doneness. Preheating your grill properly is essential for consistent results across all food types.
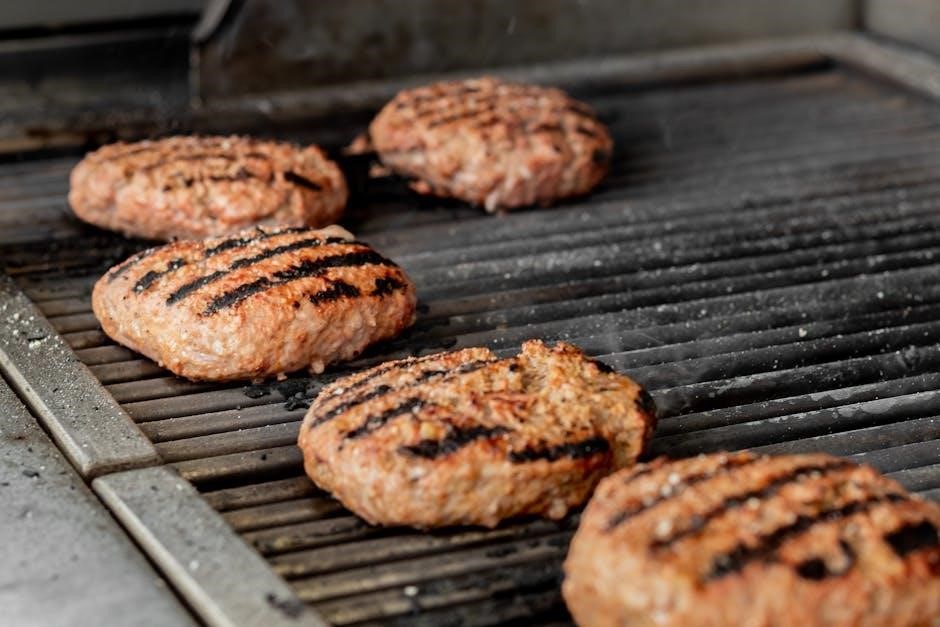
Achieving Perfect Sear Marks
Desired sear marks on your grilled food are easily attainable with a properly preheated Char-Broil grill. Ensure the cooking grates are clean and lightly oiled to prevent sticking. High, direct heat is crucial – aim for 450-550°F.
Place the food at a 45-degree angle to the grates initially. After about two minutes, rotate the food 90 degrees to create diamond-shaped marks. Flip the food and repeat the process on the other side.
Avoid moving the food around excessively; allow it to develop a good sear before attempting to lift it. A good sear enhances flavor and visual appeal.

Maintenance & Cleaning
Regular cleaning extends your Char-Broil grill’s life and ensures optimal performance. Follow a consistent schedule for burner tubes, grease traps, and cooking grates.
Regular Cleaning Schedule
Maintaining your Char-Broil grill requires a consistent cleaning routine for peak performance and longevity. After each use, burn off remaining food residue by heating the grill on high for ten to fifteen minutes, then brushing the grates.
Weekly, inspect and empty the grease trap and pan to prevent flare-ups and potential fire hazards. Monthly, thoroughly clean the cooking grates with a grill brush and warm, soapy water. Periodically, check the burner tubes for obstructions and clean as needed.
A deep clean, including the grill’s interior and exterior, should be performed at least twice a year, or more frequently depending on usage. This ensures a safe and enjoyable grilling experience for years to come.
Burner Tube Cleaning
Maintaining clean burner tubes is crucial for efficient and even heating. Begin by disconnecting the propane tank or natural gas line. Carefully remove the burner tubes, consulting your grill’s specific assembly instructions.
Inspect the burner ports for any blockages caused by food debris, insects, or rust. Use a wire brush or a specialized burner cleaning tool to gently clear any obstructions. Avoid enlarging the ports, as this can affect the grill’s performance.
Reinstall the cleaned burner tubes, ensuring they are securely connected. Test the burners to confirm proper ignition and flame pattern before resuming grilling. Regular cleaning ensures optimal heat distribution;
Grease Trap & Pan Maintenance
Regularly emptying and cleaning the grease trap and pan is vital for preventing flare-ups and maintaining a safe grilling environment. After each use, allow the grill to cool completely before removing the grease pan. Dispose of collected grease responsibly, avoiding drain disposal.
Wash the grease pan and trap with warm, soapy water, removing all accumulated grease and debris. For stubborn residue, a degreasing cleaner may be necessary. Ensure the components are thoroughly dried before reinstalling them.
Inspect the grease trap for damage or corrosion, replacing it if needed. Proper grease management contributes to a cleaner, safer, and more enjoyable grilling experience.
Grill Grate Cleaning & Seasoning
Maintaining clean grill grates is crucial for optimal cooking performance and preventing food from sticking. After each use, brush the grates thoroughly with a grill brush to remove food residue while still warm.
For deeper cleaning, remove the grates and wash them with warm, soapy water. Avoid abrasive cleaners that can damage the grate’s surface. After cleaning and drying, lightly oil the grates with a high-smoke-point oil, like canola or vegetable oil, to prevent rusting and sticking.
Seasoning the grates creates a natural, non-stick surface, enhancing your grilling experience. Repeat this process periodically for best results.
Troubleshooting Common Issues
Addressing common problems like lighting failures, uneven heating, or flare-ups ensures a safe and enjoyable grilling experience with your Char-Broil grill.
Grill Won’t Light
If your Char-Broil grill fails to ignite, first ensure the gas supply is open at both the tank and the grill itself. Verify the igniter is properly aligned and receiving a strong spark; a weak spark may indicate low battery power, requiring replacement.
Check the burner tubes for obstructions, such as debris or insect nests, which can block gas flow. If the pilot light doesn’t ignite, carefully follow the relighting instructions detailed in your specific model’s manual.
For electronic ignition systems, inspect the wiring connections. If issues persist, contact Char-Broil customer service at 1-888-430-7870 for further assistance and potential warranty support.
Uneven Heating
Experiencing uneven heat distribution? First, confirm burners are fully open and receiving adequate gas flow. Inspect burner tubes for blockages – debris or rust can impede consistent flame production. Ensure cooking grates are positioned correctly and aren’t obstructing burner ports.
Uneven heating can also stem from inconsistent propane levels in the tank; a nearly empty tank may deliver reduced pressure. Verify the temperature gauge is functioning accurately.
If problems continue, contact Char-Broil customer service at 1-888-430-7870. They can offer model-specific troubleshooting or advise on potential component replacements.
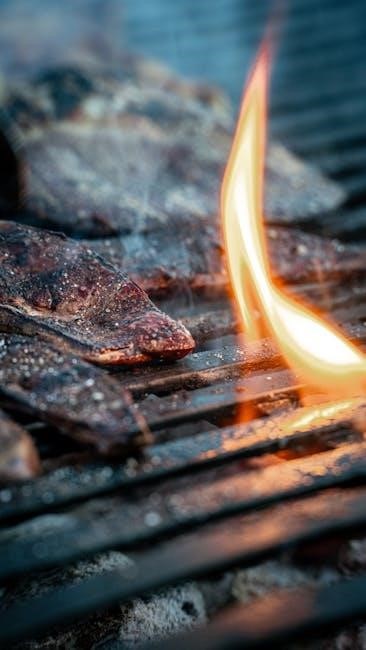
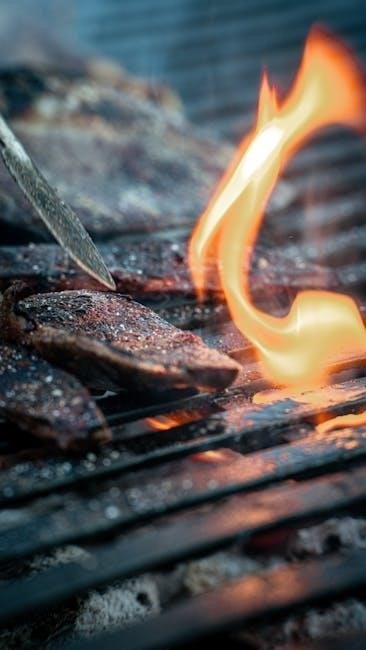
Flare-Ups & How to Control Them
Flare-ups are common during grilling, caused by dripping fats and marinades igniting on the burners. To minimize them, trim excess fat from meats before cooking. Avoid overly sugary marinades, as they caramelize and burn easily.
If a flare-up occurs, do not panic! Immediately move the food to a cooler area of the grill. Partially close the lid to reduce oxygen flow, or briefly turn off the burner directly beneath the flames.
Ensure the grease management system – grease trap and pan – is clean to prevent fat accumulation. Contact Char-Broil at 1-888-430-7870 for assistance.
Warranty Information & Support
Char-Broil stands behind its products! Register your grill online or call 1-888-430-7870 for warranty details and exceptional customer support.
Registering Your Grill
Registering your new Char-Broil grill is a crucial step to activate your warranty and ensure access to important product updates and exclusive offers. This simple process allows Char-Broil to efficiently manage warranty claims and provide tailored support should you ever require assistance.
You can easily register your grill online by visiting the official Char-Broil website, www.charbroil.com. Locate the “Warranty Registration” section and follow the on-screen instructions, typically requiring your grill’s model number and proof of purchase. Alternatively, you can register by calling their customer service line at 1-888-430-7870 during their operating hours, which are 8:00 A.M. to 6:00 P.M. EST, Monday through Friday.
Keep your registration confirmation readily available for future reference.
Contacting Char-Broil Customer Service
For any questions, concerns, or assistance with your Char-Broil grill, their dedicated customer service team is readily available to provide support. You can reach them via phone at 1-888-430-7870. Their service center operates Monday through Friday, from 8:00 A.M. to 6:00 P.M. EST, ensuring convenient access during standard business hours.
Knowledgeable agents are equipped to address a wide range of inquiries, including warranty claims, troubleshooting common issues, and locating replacement parts. Additionally, comprehensive support resources, including FAQs and helpful articles, are available on the Char-Broil website, www.charbroil.com.
Don’t hesitate to reach out – Char-Broil is committed to ensuring your grilling experience is exceptional.
Finding Replacement Parts
Maintaining your Char-Broil grill often requires replacing parts over time, and obtaining these components is straightforward. For non-warranty replacement parts or accessories, the most convenient option is to visit the official Char-Broil website at www.charbroil.com. The website features a comprehensive catalog with detailed diagrams to help you identify the correct part for your specific grill model.
Alternatively, you can contact Char-Broil customer service directly at 1-888-430-7870. Their friendly and knowledgeable agents can assist you in locating the necessary parts and processing your order. Ensuring you have the correct model number readily available will expedite the process.

Specific Grill Models & Manuals
Char-Broil offers a diverse range of grills; locating the correct manual is crucial for optimal performance and safety, ensuring a fantastic grilling experience.
Locating the Correct Manual
Finding the precise instruction manual for your Char-Broil grill is paramount for safe and effective operation. Char-Broil offers a vast selection of grill models, each with unique features and assembly requirements. To identify the correct manual, begin by locating the model number on your grill – typically found on a sticker affixed to the frame or control panel.
Once you have the model number (like 463276016), visit the official Char-Broil website (www.charbroil.com). Utilize their search function, entering your model number to instantly access the corresponding digital manual. Alternatively, you can contact Char-Broil Customer Service at 1-888-430-7870 for assistance in locating the appropriate documentation. Having the correct manual ensures proper assembly, operation, and maintenance of your grill.
Understanding Model-Specific Features
Char-Broil grills boast a diverse array of features, varying significantly between models. Your instruction manual details these unique aspects, ensuring you maximize your grilling experience. Key features often include built-in temperature gauges for precise cooking, convenient side shelves providing ample prep space, and easily cleanable cooking grates.
Some models may incorporate advanced ignition systems, specialized burner configurations, or integrated smoker boxes. The manual will illustrate these components and explain their proper function. Familiarizing yourself with these model-specific details is crucial for safe operation and optimal performance. Refer to your manual to unlock the full potential of your Char-Broil grill.
Leave a Reply
You must be logged in to post a comment.